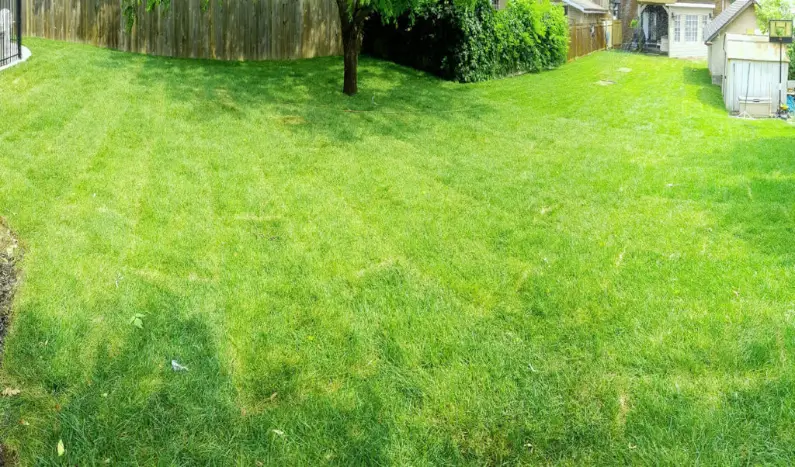
Laying sod is a popular method for establishing a lush, green lawn quickly and effectively. However, the process is not without its pitfalls. Incorrect sod installation can lead to numerous problems, such as uneven growth, poor root establishment, and a susceptibility to disease. Understanding common sod installation mistakes and how to avoid them is crucial for homeowners looking to enhance their outdoor spaces. Here, we’ll explore these mistakes and provide expert advice on achieving a healthy, vibrant lawn through proper sod installation techniques.
1. Selecting the Wrong Type of Sod
Choosing the appropriate type of sod for your specific climate and soil conditions is the first step toward a successful lawn. Different grass species have varying requirements for sunlight, water, and temperature, making some better suited to certain environments than others. For instance, Kentucky Bluegrass may thrive in cooler, northern climates, whereas Bermuda grass is better suited for warmer, southern regions.
2. Neglecting Soil Preparation
Soil preparation is a critical, yet often overlooked, aspect of sod installation. Proper soil preparation ensures that the sod’s roots can establish themselves quickly and deeply, leading to a healthier lawn. Key steps include:
- Testing the soil pH and adjusting it as necessary to meet the requirements of the grass species.
- Removing weeds, debris, and large rocks that could interfere with root growth.
- Tilling the soil to a depth of at least 6 inches to improve drainage and aeration.
- Adding topsoil or compost to enrich the soil with nutrients.
3. Inadequate Grading and Leveling
Before laying sod, the ground should be graded and leveled to ensure proper drainage and prevent water pooling. Failure to do so can result in an uneven lawn that is prone to flooding in some areas and drought in others. The ideal slope for lawn areas is a gentle decline away from buildings and other structures to facilitate water runoff.
4. Installing Sod at the Wrong Time
Timing is crucial when it comes to sod installation. Installing sod during extreme weather conditions—whether it’s the scorching heat of summer or the freezing temperatures of winter—can stress the grass, hindering its ability to establish and grow. The best time for sod installation is during the moderate temperatures of spring or early fall, which provide the ideal environment for root development.
5. Overlapping or Gapping the Sod
When laying sod, it’s important to place the pieces tightly together without overlapping them or leaving gaps. Overlapping can cause the sod to develop unevenly, with some areas growing higher than others. Gaps between sod pieces can hinder root establishment and allow weeds to take hold. The sod should be laid in a staggered, brick-like pattern to ensure a smooth, cohesive lawn surface.
Implementing Effective Watering Practices
One of the most critical elements of successful sod installation is proper watering. Immediately after laying the sod, it should be watered thoroughly to encourage root growth. For the first few weeks, the sod requires frequent, light watering to keep the soil consistently moist but not waterlogged. Overwatering can lead to root rot and other diseases, while under-watering can prevent the sod from establishing properly.
Choose Professional Sod Installation at TheLandscapr
Understanding and avoiding these common sod installation mistakes can lead to a robust, thriving lawn. The expertise of professionals in landscaping services can be invaluable in this process. TheLandscapr, known for its affordable sod services, emphasizes the importance of expert guidance and precision in every step of sod installation, ensuring that homeowners achieve the beautiful, healthy lawn they desire.
